Sharp DV-SR85RU Especificaciones
Busca en linea o descarga Especificaciones para Reproductores de dvd Sharp DV-SR85RU. Sharp DV-SR85RU Specifications [en] Manual de usuario
- Pagina / 94
- Tabla de contenidos
- SOLUCIÓN DE PROBLEMAS
- MARCADORES

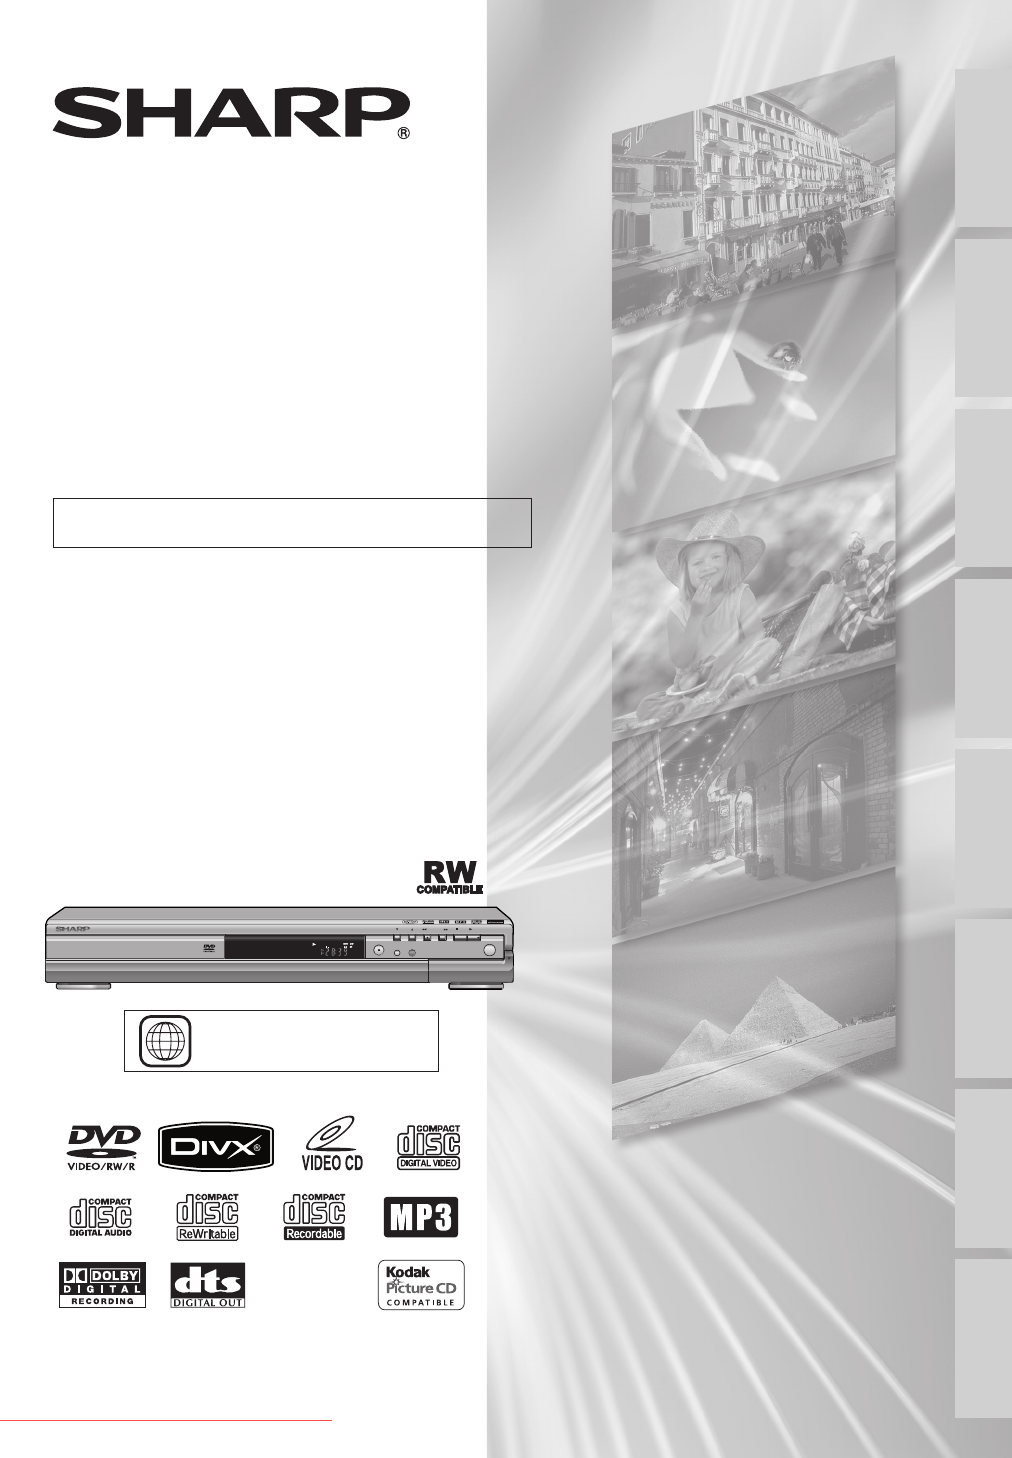
- DV-SR85RU 1
- Before you start 2
- Playback 6
- Compatibility 6
- About the remote control 10
- Child Lock function 10
- Guide to On-Screen Displays 11
- Display message 12
- Connections 13
- Getting started 16
- What are titles and chapters? 17
- Finalising a Disc 17
- Auto Tuning 18
- Manual Tuning 19
- To skip a Preset channel 20
- To select a channel 20
- Clock Setting 21
- Type of discs 23
- Recordable discs 23
- Recording mode 23
- Restrictions on recording 23
- Recording 24
- Setting Auto Chapter 26
- Recording Audio Select (XP) 26
- Reformatting a disc manually 27
- Setting External Input Audio 28
- Hints for Timer Recording 33
- Note for DVD recording 33
- To cancel finalising 38
- (DVD-RW only) 38
- Auto finalise 39
- Playable discs 40
- Colour systems 40
- Region codes 40
- Playing back on DivX® file 40
- Hint for DVD playback 41
- Playing back an MP3 / JPEG 42
- Playing back a DivX® 43
- Disc Playback 44
- Resume playback 47
- Fast forward / Fast reverse 48
- Rapid Play 49
- Step by step playback 50
- Marker Setup 52
- Time search 54
- Direct Search 54
- Using [the Number buttons] 54
- Repeat playback 55
- Random playback 55
- Programme playback 56
- Slide Show 56
- DivX® VOD 57
- Switching subtitles 57
- Switching audio soundtrack 58
- Reducing block noise 59
- Switching camera angles 59
- Guide to a title list 60
- Edit the recorded disc 60
- Editing discs 61
- Notes for deleting titles 61
- Deleting titles 62
- Editing title names 63
- Guide to edit title name 64
- Editing discs (cont’d) 65
- Deleting a part of a title 68
- <Preview> 68
- Dividing a title 70
- Combining titles 71
- Adding titles to a Playlist 72
- Erasing all Playlist 73
- Changing the Setup menu 76
- Troubleshooting 85
- Troubleshooting (cont’d) 86
- Language code 89
- Glossary 90
- Specifications 91
- SHARP CORPORATION 94
Indice de contenidos
DVD RECORDER MODELOPERATION MANUALPlease read this Operation Manual carefully before using your DVD RECORDER.5The region number for this unit is 5.DV-
10 ENFunctional overview (cont’d)Before you startAbout the remote control• Make sure there is no obstacle between the remote control and the remote c
11ENRecording Disc Playback EditingBefore you start Connections Getting startedChanging the Setup menuOthersNote• This is an example screen only for
12 ENBefore you startFunctional overview (cont’d)Display message135246Data is being recorded on a disc. The disc tray is opening.The disc tray is clos
13ENRecording Disc Playback EditingBefore you start Connections Getting startedChanging the Setup menuOthersLRS-VIDEOANALOGAUDIO OUTCOAXIALDIGITAL AUD
14 ENConnectionsConnecting to external equipmentNote• If the external equipment connected to the Scart terminal (AV2) supplies control voltage to thi
15ENRecording Disc Playback EditingBefore you start Connections Getting startedChanging the Setup menuOthersConnecting to an Audio SystemConnectionsPl
16 ENGetting startedEasy DVD recordingThe following will help you to understand easily how to record on DVD discs.Make sure batteries are in the remot
17ENRecording Disc Playback EditingBefore you start Connections Getting startedChanging the Setup menuOthersGetting startedEasy DVD recording (cont’d)
18 ENGetting startedZOOMDISPLAYSETUPTOP MENUMENU/LISTREC MODEREC/OTRPAUSESKIP SKIPPLAYCM SKIPAUDIOOPEN/CLOSEFWDREVCLEAR123456789SPACE0AHGENTERPROG.RET
19ENRecording Disc Playback EditingBefore you start Connections Getting startedChanging the Setup menuOthersGetting startedChannel setting (cont’d)ZOO
2 ENPrecautionsBefore you startPower Cord ProtectionCAUTION:USE OF CONTROLS OR ADJUSTMENTS OR PERFORMANCE OF PROCEDURES OTHER THAN THOSE SPECIFIED HER
20 ENGetting startedChannel setting (cont’d)ZOOMDISPLAYSETUPTOP MENUMENU/LISTREC MODEREC/OTRPAUSESKIP SKIPPLAYCM SKIPAUDIOOPEN/CLOSEFWDREVCLEAR1234567
21ENRecording Disc Playback EditingBefore you start Connections Getting startedChanging the Setup menuOthersGetting startedZOOMDISPLAYSETUPTOP MENUMEN
22 ENGetting startedSelecting the TV aspect ratioZOOMDISPLAYSETUPTOP MENUMENU/LISTREC MODEREC/OTRPAUSESKIP SKIPPLAYCM SKIPAUDIOOPEN/CLOSEFWDREVCLEAR12
23ENRecording Disc Playback EditingBefore you start Connections Getting startedChanging the Setup menuOthersRecordingInformation on DVD recordingType
24 ENRecordingInformation on copy controlSome satellite broadcasts include copy-protected information. If you wish to record them, refer to the follow
25ENRecording Disc Playback EditingBefore you start Connections Getting startedChanging the Setup menuOthersRecordingFormatting a discWhen inserting a
26 ENRecordingFormatting a disc (cont’d)Note• You cannot set or clear chapter marks on DVD-R discs manually.ZOOMDISPLAYSETUPTOP MENUMENU/LISTREC MODE
27ENRecording Disc Playback EditingBefore you start Connections Getting startedChanging the Setup menuOthersRecordingFormatting a disc (cont’d)ZOOMDIS
28 ENSelecting the Sound modeDISPLAYSETUPTOP MENUMENU/LISTREC MODEREC/OTRPAUSESKIP SKIPPLAYCM SKIPAUDIOFWDREVCLEAR789SPACE0HGENTERRETURNPQRSTUVWXYZBC
29ENRecording Disc Playback EditingBefore you start Connections Getting startedChanging the Setup menuOthersRecordingNote• You can change the channel
3ENRecording Disc Playback EditingBefore you start Connections Getting startedChanging the Setup menuOthersBefore you startPrecautions (cont’d)Copyrig
30 ENRecordingOne-touch Timer Recording (OTR)Note• The remaining recording time will be displayed on the front panel display during One-touch Timer R
31ENRecording Disc Playback EditingBefore you start Connections Getting startedChanging the Setup menuOthersRecordingZOOMDISPLAYSETUPTOP MENUMENU/LIST
32 ENRecordingTimer Recording (cont’d)ZOOMDISPLAYSETUPTOP MENUMENU/LISTREC MODEREC/OTRPAUSESKIP SKIPPLAYCM SKIPAUDIOOPEN/CLOSEFWDREVCLEAR123456789SPAC
33ENRecording Disc Playback EditingBefore you start Connections Getting startedChanging the Setup menuOthersTimer Recording (cont’d)RecordingIf the st
34 ENRecordingYou can set the unit to start recording whenever it detects the video signal from the external tuner.Preparing for the Satellite Link Ti
35ENRecording Disc Playback EditingBefore you start Connections Getting startedChanging the Setup menuOthersRecordingSatellite Link (cont’d)Note• If
36 ENRecordingDV dubbing (cont’d)Note• The unit does not send out the output signal to DV camcorder.• For the proper operation, connect DV camcorder
37ENRecording Disc Playback EditingBefore you start Connections Getting startedChanging the Setup menuOthersDISPLAYSETUPTOP MENUMENU/LISTREC MODEREC/O
38 ENRecordingYou will need to finalise discs to play them back in other players.Finalising may take from several minutes up to an hour. (A disc recor
39ENRecording Disc Playback EditingBefore you start Connections Getting startedChanging the Setup menuOthersXXXX (cont’d)RecordingZOOMDISPLAYSETUPTOP
4 ENPrecautions (cont’d)Before you startSupplied Accessory• Remote control with two R6 (AA) size batteries• Round Coaxial cable • Video / Audi
40 ENDisc PlaybackInformation on playing back DVDsRead the following information before you play back a DVD.Playable discsYou can play back all the di
41ENRecording Disc Playback EditingBefore you start Connections Getting startedChanging the Setup menuOthersZOOMDISPLAYSETUPTOP MENUMENU/LISTREC MODER
42 EN1Follow the steps 1 to 4 in “Playing back a DVD-RW / DVD-R / DVD+RW / DVD+R disc” on page 41.The File List will appear.• If you are in stop mode
43ENRecording Disc Playback EditingBefore you start Connections Getting startedChanging the Setup menuOthersDisc PlaybackBasic playback (cont’d)Kodak
44 ENDisc PlaybackBasic playback (cont’d)It is recommended that files to be played back in this unit are recorded under the following speci-fications:
45ENRecording Disc Playback EditingBefore you start Connections Getting startedChanging the Setup menuOthersDisc PlaybackZOOMDISPLAYSETUPTOP MENUMENU/
46 ENDisc PlaybackBasic playback (cont’d)Note• [TOP MENU] will not be available for some DVDs.• Menus vary among discs. Refer to the information acc
47ENRecording Disc Playback EditingBefore you start Connections Getting startedChanging the Setup menuOthersPBC function for Video CDs (cont’d)Disc Pl
48 ENDisc PlaybackSpecial playback (cont’d)DISPLAYSETUPTOP MENUMENU/LISTREC MODEREC/OTRPAUSESKIP SKIPPLAYCM SKIPFWDREVCLEARSPACE0HGENTERRETURNBC {BKLh
49ENRecording Disc Playback EditingBefore you start Connections Getting startedChanging the Setup menuOthersDisc PlaybackSpecial playback (cont’d)Paus
5ENRecording Disc Playback EditingBefore you start Connections Getting startedChanging the Setup menuOthersTable of contentsBefore you startBefore you
50 ENDisc PlaybackSpecial playback (cont’d)Step by step playback1During playback, press [PAUSE F].F2Press [SKIP H / G] repeat-edly.Each time you press
51ENRecording Disc Playback EditingBefore you start Connections Getting startedChanging the Setup menuOthersDisc PlaybackSpecial playback (cont’d)ZOOM
52 ENDisc PlaybackSpecial playback (cont’d)Marker Setup(PBC OFF)You can assign a specific point on a disc to return later.1During playback, press [DI
53ENRecording Disc Playback EditingBefore you start Connections Getting startedChanging the Setup menuOthersDisc PlaybackSearchTitle / Chapter searchU
54 ENDisc PlaybackSearch (cont’d)Time searchNote• During Random playback or Programme playback, you cannot search the desired time.• The title numbe
55ENRecording Disc Playback EditingBefore you start Connections Getting startedChanging the Setup menuOthersDisc PlaybackRepeat/Random/Programme playb
56 ENDisc PlaybackRepeat/Random/Programme playback / Slide Show (cont’d)Note• To erase tracks you selected, press [CLEAR].• You can make up to 50 tr
57ENRecording Disc Playback EditingBefore you start Connections Getting startedChanging the Setup menuOthersDisc PlaybackSelecting the format of audio
58 ENDisc PlaybackSelecting the format of audio and video (cont’d)Note• With some discs it is only possible to change the soundtrack from the disc me
59ENRecording Disc Playback EditingBefore you start Connections Getting startedChanging the Setup menuOthersSelecting the format of audio and video (c
6 ENRecordingThe unit is compatible with DVD-RW discs, which are recordable repeatedly, and DVD-R discs, which are recordable only once.Recording up t
60 ENEditingInformation on disc editingThe title list enables you to check the titles recorded on a disc easily. You can choose a title to play back f
61ENRecording Disc Playback EditingBefore you start Connections Getting startedChanging the Setup menuOthersEditingInformation on disc editing (cont’d
62 ENEditing2345Editing discsDeleting titlesZOOMDISPLAYSETUPTOP MENUMENU/LISTREC MODEREC/OTRPAUSESKIP SKIPPLAYCM SKIPAUDIOOPEN/CLOSEFWDREVCLEAR1234567
63ENRecording Disc Playback EditingBefore you start Connections Getting startedChanging the Setup menuOthersEditingEditing discs (cont’d)Editing title
64 ENEditingZOOMDISPLAYSETUPTOP MENUMENU/LISTREC MODEREC/OTRPAUSESKIP SKIPPLAYCM SKIPAUDIOOPEN/CLOSEFWDREVCLEAR123456789SPACE0AHGENTERPROG.RETURN.@/:A
65ENRecording Disc Playback EditingBefore you start Connections Getting startedChanging the Setup menuOthersEditingAdding or deleting chapter marksZOO
66 ENEditingZOOMDISPLAYSETUPTOP MENUMENU/LISTREC MODEREC/OTRPAUSESKIP SKIPPLAYCM SKIPAUDIOOPEN/CLOSEFWDREVCLEAR123456789SPACE0AHGENTERPROG.RETURN.@/:A
67ENRecording Disc Playback EditingBefore you start Connections Getting startedChanging the Setup menuOthersEditingSetting pictures for thumbnailsOrig
68 ENEditingZOOMDISPLAYSETUPTOP MENUMENU/LISTREC MODEREC/OTRPAUSESKIP SKIPPLAYCM SKIPAUDIOOPEN/CLOSEFWDREVCLEAR123456789SPACE0AHGENTERPROG.RETURN.@/:A
69ENRecording Disc Playback EditingBefore you start Connections Getting startedChanging the Setup menuOthersEditing4Select “Delete” using [Cursor K /
7ENRecording Disc Playback EditingBefore you start Connections Getting startedChanging the Setup menuOthersBefore you startFunctional overviewFront Pa
70 ENZOOMDISPLAYSETUPTOP MENUMENU/LISTREC MODEREC/OTRPAUSESKIP SKIPPLAYCM SKIPAUDIOOPEN/CLOSEFWDREVCLEAR123456789SPACE0AHGENTERPROG.RETURN.@/:ABCDEFGH
71ENRecording Disc Playback EditingBefore you start Connections Getting startedChanging the Setup menuOthersEditingCombining titlesPlaylistYou can com
72 ENEditingAdding titles to a PlaylistZOOMDISPLAYSETUPTOP MENUMENU/LISTREC MODEREC/OTRPAUSESKIP SKIPPLAYCM SKIPAUDIOOPEN/CLOSEFWDREVCLEAR123456789SPA
73ENRecording Disc Playback EditingBefore you start Connections Getting startedChanging the Setup menuOthersEditingErasing all PlaylistNote• Deleting
74 ENEditingOriginalTo prevent the accidental editing, or erasing of the titles, you can protect them in the Edit menu.You can cancel the title protec
75ENRecording Disc Playback EditingBefore you start Connections Getting startedChanging the Setup menuOthersEditingSetting or clearing all chapter mar
76 ENTour of the Setup menuChanging the Setup menuSetup Items (highlight is the default) Contents1. Language setting Pages 77-78Disc MenuRussian Engli
77ENRecording Disc Playback EditingBefore you start Connections Getting startedChanging the Setup menuOthersChanging the Setup menuLanguage setting1In
78 ENNote• You can also change or switch off the subtitles on a DVD from the disc menu if it is available.• Press [CLEAR] or [Cursor s] to erase numb
79ENRecording Disc Playback EditingBefore you start Connections Getting startedChanging the Setup menuOthersChanging the Setup menuDisplay setting (co
8 ENBefore you startFunctional overview (cont’d)Note• Do not touch the inner pins of the jacks on the rear panel. Electrostatic discharge may cause p
80 ENChanging the Setup menuAudio setting (cont’d)Digital Out - Dolby DigitalStreamPCMSelect a setting using [Cursor K / L], then press [ENTER].Your s
81ENRecording Disc Playback EditingBefore you start Connections Getting startedChanging the Setup menuOthersChanging the Setup menuAudio setting (cont
82 ENChanging the Setup menuVideo setting (cont’d)VideoTV System PALStill Mode AutoVideo Out SCART(RGB)TV System (Default: PAL)Set the TV system.S
83ENRecording Disc Playback EditingBefore you start Connections Getting startedChanging the Setup menuOthersDVD-Videos Parental Lock levelSome DVD-Vid
84 ENChanging the Setup menuDVD-Videos Parental Lock level (cont’d)Parental LockPassword Input----Parental LockPassword Input----Parental LockPassword
85ENRecording Disc Playback EditingBefore you start Connections Getting startedChanging the Setup menuOthersOthersTroubleshootingSymptom RemedyPowerTh
86 ENOthersTroubleshooting (cont’d)Symptom RemedyPlaybackThe unit does not play back the disc.• No disc is inserted.• A blank disc is inserted.• The d
87ENRecording Disc Playback EditingBefore you start Connections Getting startedChanging the Setup menuOthersOthersTroubleshooting (cont’d)* If the abo
88 ENError message Cause SolutionDisc Error— Please eject the disc. —Playback feature may not be available on this Disc.• An unplayable disc is insert
89ENRecording Disc Playback EditingBefore you start Connections Getting startedChanging the Setup menuOthersLanguage CodeAbkhazian 4748Afar 4747Afrika
9ENRecording Disc Playback EditingBefore you start Connections Getting startedChanging the Setup menuOthersBefore you startFunctional overview (cont’d
90 ENAnalogue audioAn electrical signal that directly represents sound. In contrast, digital audio can also be an electrical signal, but is an indirec
91ENRecording Disc Playback EditingBefore you start Connections Getting startedChanging the Setup menuOthersGeneralSystem DVD-Video, DVD-RW/-R, DVD+RW
Downloaded From Disc-Player.com Sharp Manuals
A. Information on Disposal for Users (private households)1. In the European UnionAttention: If you want to dispose of this equipment, please do not us
SHARP CORPORATIONPrinted in China 9HS1VMN23068E7B16RD ★★★★★1VMN23068 Downloaded From Disc-Player.com Sharp Manuals
Relacionado con productos y manuales para Reproductores de dvd Sharp DV-SR85RU
 (79 paginas)
 (104 paginas)
 (40 paginas)
© 2020, manymanuals.es. Todos los derechos reservados | 0.035 s |
 Manymanuals.com
 Manymanuals.de
 Manymanuals.fr
 Manymanuals.it
 Manymanuals.pl
 Manymanuals.cz
 Manymanuals.es
 Manymanuals-pt.com
Comentarios a estos manuales